
How To Roll A Backwoods Blunt: An Easy Guide For Tokers
- BackwoodsShop
- 13 Dec, 2023
Wanna learn the secret of how to roll a Backwoods blunt? You’ve come to the right place, my friend.
In this article, the all-things-cannabis experts at Honest Marijuana tell you everything you need to know to roll the perfect Backwoods blunt the first time and every time.
We’ve even included some soon-to-be patented HMJ Tips you can’t get anywhere else (we’re kidding about the patent thing, but that’d be cool if it was true).
Before we get to the how, let’s talk about the what so you understand how to roll a Backwoods blunt the right way.
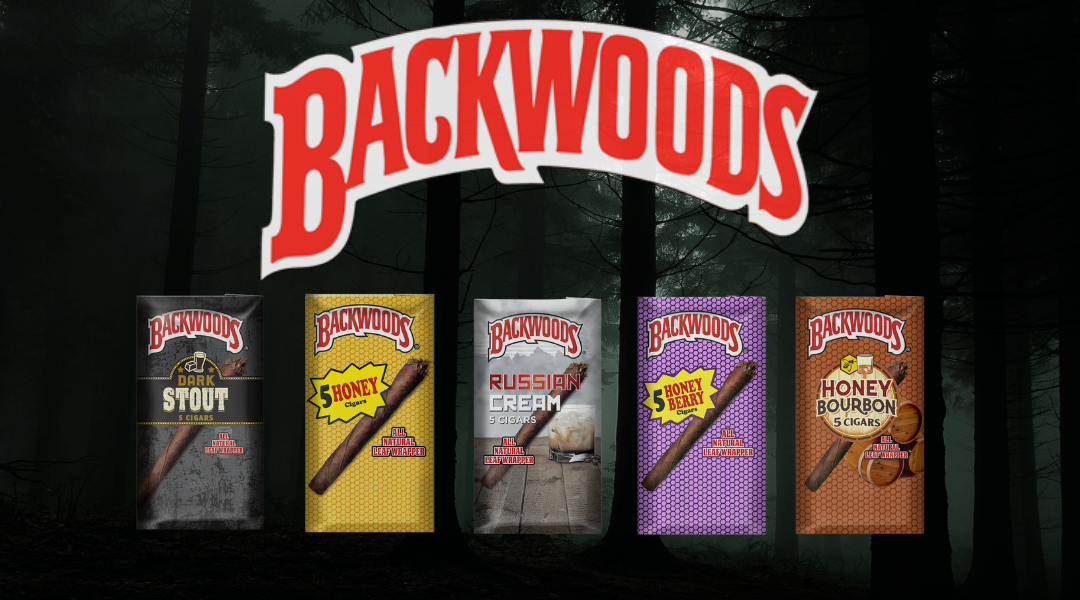
A Backwoods blunt is a blunt (duh!) built with your favorite strain of cannabis and a cleaned-out Backwoods Cigar wrapper.
Backwoods Cigars are different from other cigar brands in that they use a single, all-natural tobacco leaf on the outside instead of a piece of pressed tobacco paper or some other type of cigar wrapper.
This appeals to cannabis purists who are looking for a clean experience free of chemicals, pesticides, and heavy metals, and is why Backwoods blunts have grown in popularity over the last few years.
Now that you know what all the fuss is about, let’s get on to learning how to roll a Backwoods blunt.
How To Roll A Backwoods Blunt
Supplies
- Backwoods Cigars
- Your favorite strain of weed
- Grinder
- Small knife or razor blade (optional)
- Clean tray to work on
- Water
- Paper towel
- Patience
- Practice
Instructions
1) Gather And Examine Your Backwoods Cigars
As we mentioned, Backwoods Cigars are rolled from a whole tobacco leaf, so their appearance differs slightly from other brands like Swisher Sweet or Optimo.
The most noticeable difference is that they’re more tightly wrapped at the mouth end. That’s where you’re going to start unrolling.
With other cigar brands, you might consider using a small knife or razor blade to slice open the wrapper.
And you can certainly do the same when you’re learning how to roll a Backwoods blunt. But pot purists might frown on this behavior.
Yes, cutting is quicker, but that doesn’t mean it’s better. Instead of jumping straight to the knife, learn how to unroll the Backwoods wrapper first.
With that knowledge and skill in hand, at the very least, you’ve got a cool trick you can use to wow your friends and make all your enemies jealous.
Before moving to step two, be sure you have several Backwoods Cigars at the ready. Why?
Because you will make mistakes and you will have to start over so prepare yourself mentally and physically for this minor trauma.
2) Unroll The Backwoods Cigar
Starting at the mouth end (that’s the tapered end), gently tease apart and unroll the cigar wrapper.
The wrapper may be brittle in places so proceed slowly and be as gentle as possible.
After you’ve learned how to roll a Backwoods blunt and done it successfully several times, you’ll get the feel for the process and the whole thing will go faster.
Once you’ve gotten the wrapper open, empty the tobacco into a bowl if you want to use it again — for a Backwoods spliff — or the garbage if you don’t.
The nice thing about learning how to roll a Backwoods blunt — or any blunt for that matter — is that the wrapper itself is a tobacco leaf, so you don’t necessarily need to add any ground tobacco into the mix.
With the wrapper and the bud you’ll add later, you’re good to go.
3) Grind Your Weed
If you don’t have a grinder, get one. It makes everything easier — and not just learning how to roll a Backwoods blunt.
All your ganja adventures will be better with a grinder by your side.
If you need to clean said grinder, take a few minutes to read our instructional article How To Clean A Grinder In 5 Easy Steps.
Doing so — actually cleaning the grinder, not just reading the article — will improve the taste and experience of your final Backwoods blunt.
Grind up at least 1.5 grams of your favorite bud so you have plenty to work with (you can always save the extra for a later-in-the-day J).
And don’t get too aggressive with your grinding. Think finely diced cilantro and you’ll be just fine.
The goal here is a nice, fluffy consistency with plenty of small chunks. This facilitates airflow and makes the burn easier and more enjoyable.
4) Moisten The Backwoods Wrapper
This step is optional — and with practice, you may not need it anyway — but we want to make it easy for all those first-timers out there.
Use all the tips and tricks you can to make the whole thing easier at first, and then eliminate steps as your skill improves.
With a damp paper towel, pat the Backwoods wrapper until it feels moist. Be careful not to saturate the wrap with too much liquid (so no dunking it in a bowl of water).
Getting the Backwoods wrap just a little bit wet will make it easier to work with and prevent it from tearing in places it shouldn’t.
5) Position The Backwoods Wrapper
Most Backwoods wrappers are irregularly shaped and have one rounded edge and one sharp edge.
For help in identifying these two edges, the sharp edge is the cut end to which you would apply the flame. The rounded edge is the end you would put in your mouth.
In our experience, learning how to roll a Backwoods blunt is easier if you position the sharp edge away from your dominant hand.
For example, if you’re left-handed, turn the sharp edge so that it’s at your right hand.
Got it where you want it? Good.
Let’s fill ‘er up!
6) Load Your Backwoods Blunt
Take your grinder in one hand, and, with the other, create a slight upward curve in the Backwoods wrapper.
This canoe or valley shape will help you keep your ground weed centered when you actually start pouring.
Pack the Backwoods wrapper with as much pot as possible. This will make the final Backwoods blunt better and prevent it from collapsing after you light it.
HMJ Tip: Load up the center of the Backwoods blunt with more weed than the ends. When you roll it, the weed will naturally spread and fill out the ends for a nice, even thickness.
7) Roll Your Backwoods Blunt
All right, you’ve arrived at the trickiest part of the whole process. Remember the patience and practice we listed in the supplies section? You’ll need them both here.
Starting with the rounded edge, gently and slowly tuck and roll the wrapper around the bud with your fingers and thumbs until you’ve got a closed tube with weed inside.
As you’re rolling the blunt, don’t try to create a perfect cylinder. Remember, the original Backwoods Cigar was more tapered than it was cylindrical. So shoot for a slight cone shape to mimic the original product.
Above all else, be gentle so you don’t crack or tear the wrap and ruin the look and feel of your Backwoods blunt.
HMJ Tip: Practice your rolling technique with the tobacco you took from the Backwoods wrapper and a quarter of a piece of printer paper (4.25” x 5.5” or 10.8 cm x 14 cm for those of you who can handle the metric system).
If you already threw away the tobacco and you don’t feel like rooting around in last night’s leftover scraps, you can always practice with marijuana’s stunt double, oregano.
8) Seal Your Backwoods Blunt
When you’ve got the blunt all rolled up, moisten the exposed edge from end to end and then seal it down (like licking an envelope).
Backwoods blunts require a bit more saliva to seal than regular blunts, so don’t be afraid to give it a real tongue-lashing.
HMJ Tip: If you’re feeling really daring and want an extra kick, try closing and sealing your blunt with a bit of cannabis oil instead of licking the edge.
This is a perfect way to take your Backwoods blunt from exceptional to out of this world.
When you’ve licked your Backwoods blunt into submission or glued it closed with honey oil, “bake” the blunt by running a lighter lengthwise under the exposed edge (that you licked or oiled – yeah, baby!) to help seal everything together.
9) Light That Sucker!
Take a moment to admire your handy work — but don’t dilly-dally too long because a righteous high is waiting in the wings.
Make fire and light that sucker up!
10) Share Your Backwoods Blunt With Friends
Toking solo is a great way to experience the joys of a Backwoods blunt.
But for more fun than you thought humanly possible, puff, puff, pass your new creation with friends.
Comments
Recent Posts
Top-Selling Backwoods Flavors Of All Time
- 13 Dec, 2023


Write a comment